
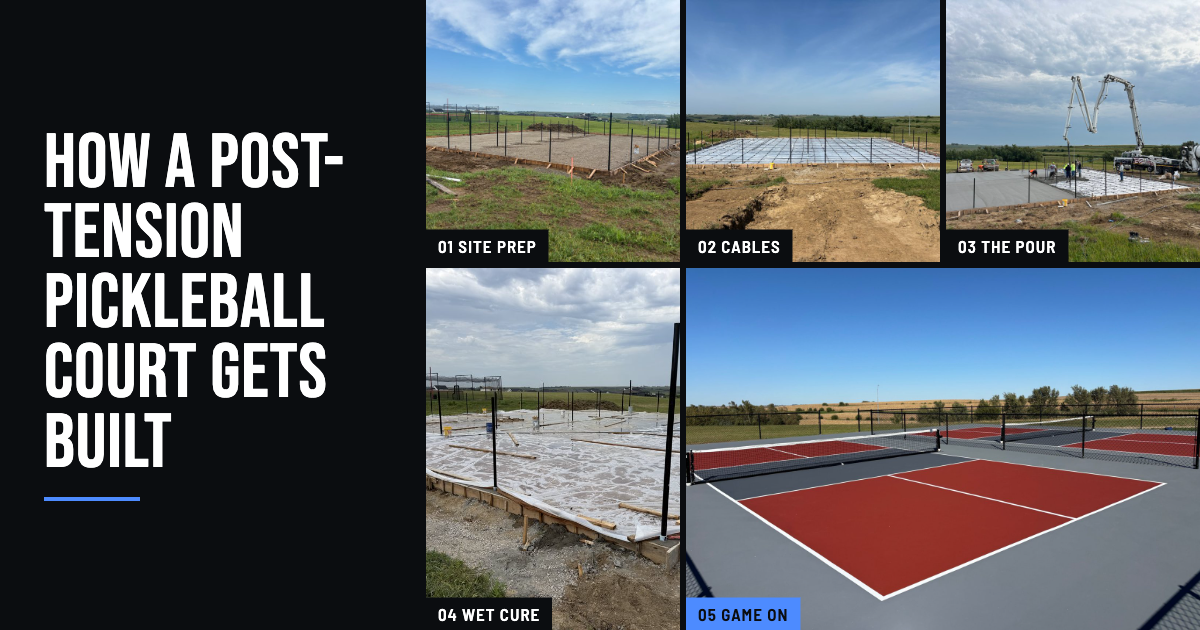
How Is a Post-Tension Pickleball Court Built? A Step-by-Step Overview
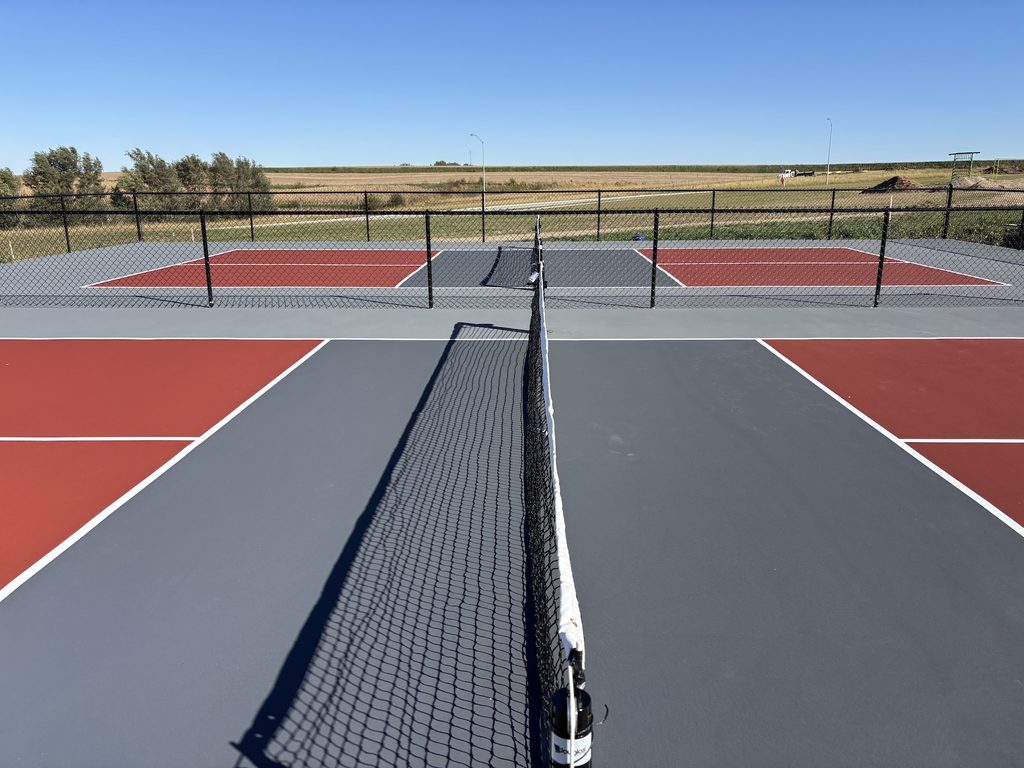
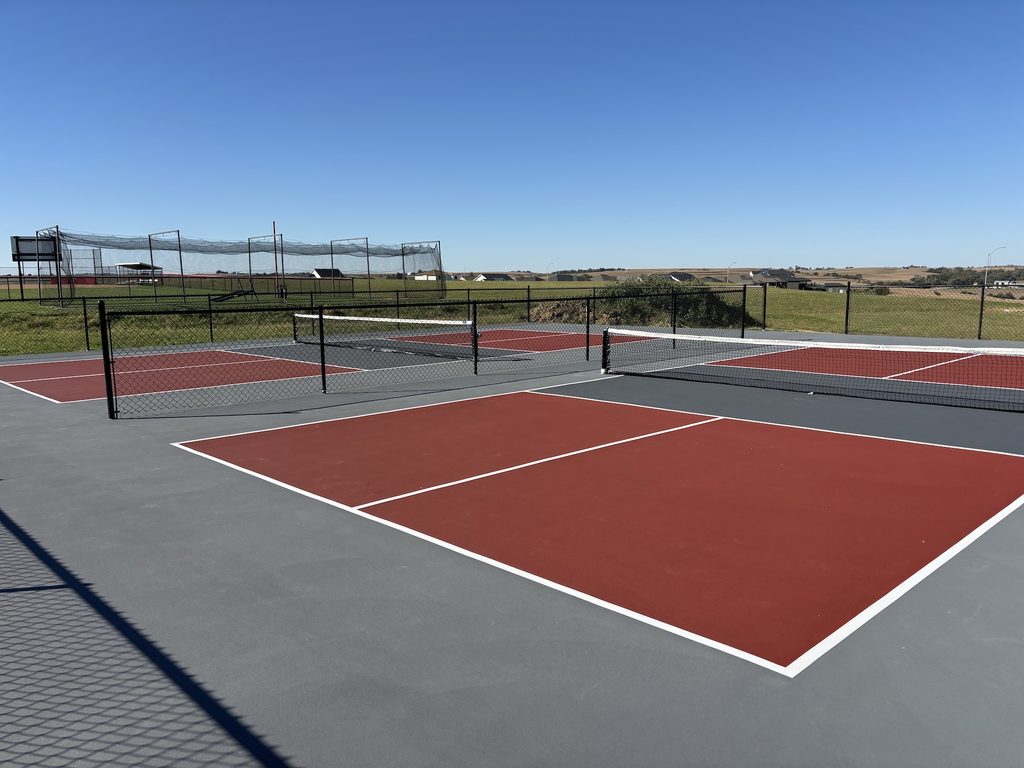
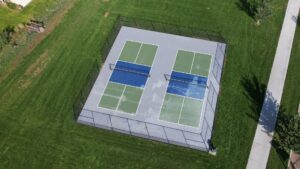
We are just finishing up two new pickleball courts in Treynor, Iowa built on a post-tensioned concrete slab. And while it takes more steps than a standard pour, we expect this to last the community for decades to come.
Below is every step of the build, from bare dirt to the last coat of paint, and the importance of each step if you’re wanting to build using post tension.
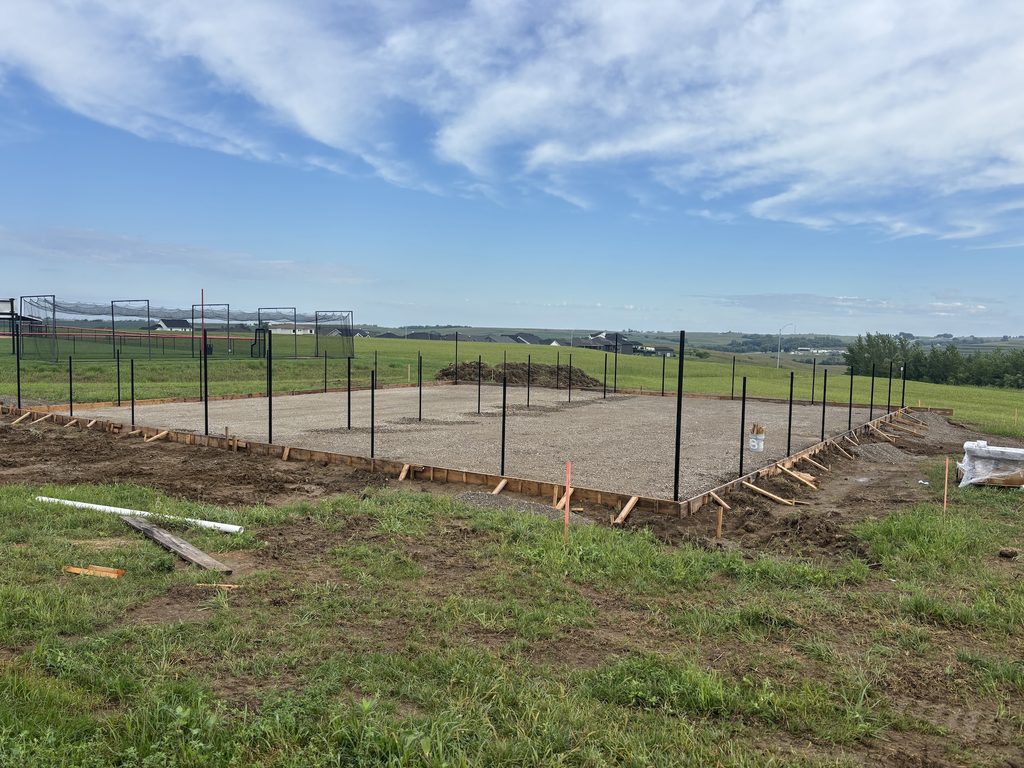
How Do You Prep the Site for a New Pickleball Court?
Every court starts underground. We graded the site, compacted the soil, and topped it with fresh compacted aggregate, a layer of crushed stone that gives the slab a stable, well-drained base. Then forms went up around the edges to set the slab’s shape and height.
A court will only last if the base is prepared correctly. Most people don’t realize and skip this part which will inevitably give them issues down the road.
Why Does a Pickleball Court Need a Vapor Barrier?
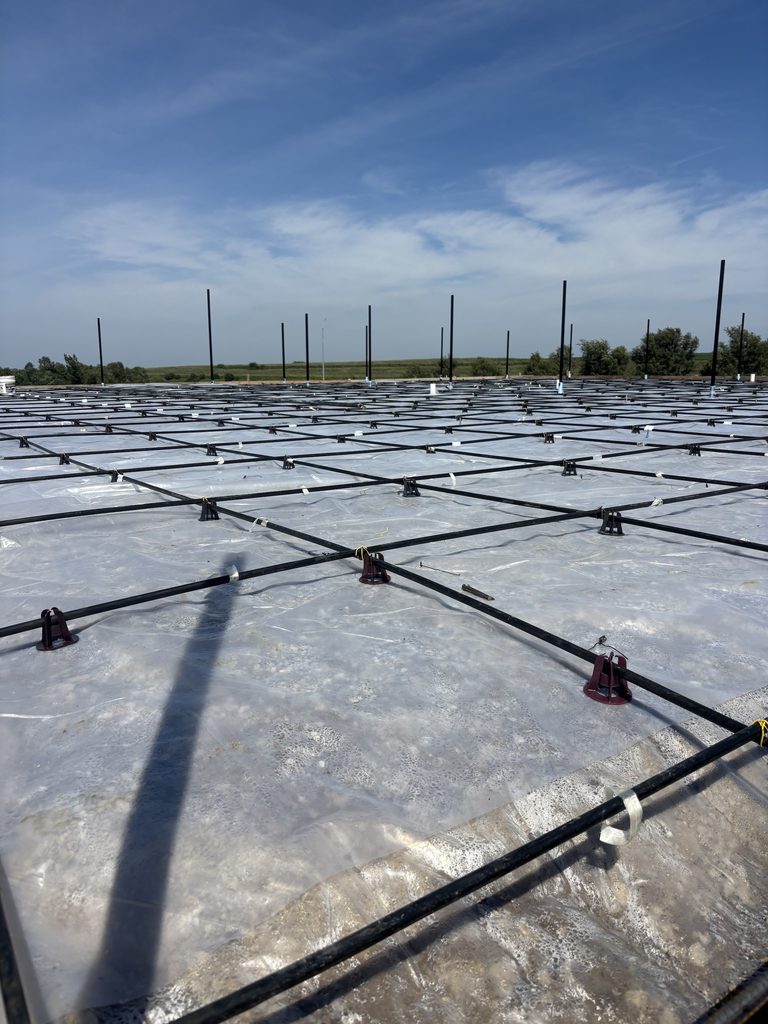
A vapor barrier stops ground moisture from moving up into the slab. Before any concrete goes down, we lay two 6 mil plastic sheets over the entire base.
This is probably the most often skipped step because people don’t realize it’s necessary. Acrylic court surfacing doesn’t let moisture pass through the way bare concrete does. When moisture pushes up from below, it gets trapped under the coating and shows up as bubbling, blistering and peeling. (This is also known as hydrostatic pressure.)
We get called out to courts with exactly this problem. Plant growth coming up through cracks is often a sign there was never a barrier in the first place.
What Are Post-Tension Cables and When Do They Get Tightened?
Post-tension cables are steel strands run in a grid through the slab, then pulled tight after the concrete hardens. That tension squeezes the whole slab together so cracks can’t open up.
Here’s how it worked on Treynor:
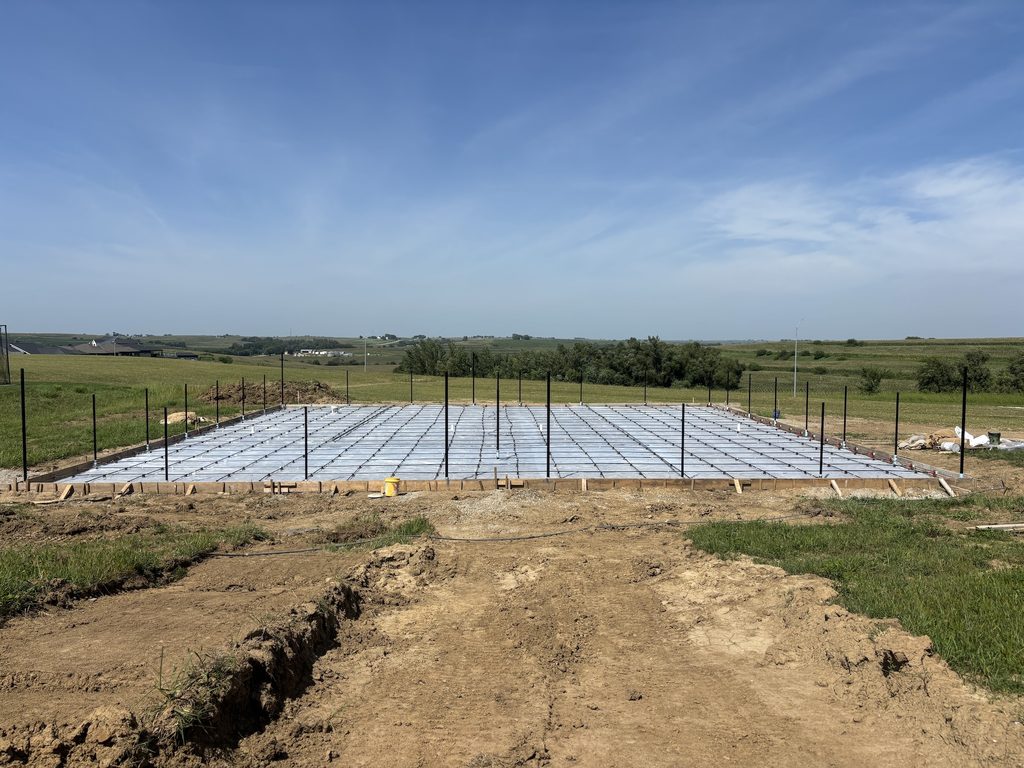
- Laying the grid. Before the pour, 1/2″ steel strands in plastic sheathing are laid out in both directions across the court. Plastic chairs hold each cable at the right height inside the slab, and each end is anchored at the slab’s edge.
- When they get tightened. Not right away. The concrete has to be strong enough to take the load first. On Treynor, the cables were stressed once the concrete reached 3,000 PSI.
- How tight. Each strand is pulled to about 33,000 pounds of force with a hydraulic jack, then locked off at the edge.
- How we know it worked. The crew measures how far each cable stretches. If the stretch matches the design, the cable is at full tension.
The result is a slab that stays in compression. Cracking stays to hairline at most, you don’t get the heaving and trip hazards that show up on rebar slabs over time, and the court is built to last 20+ years.
Why Set Fence Posts Before the Concrete Pour?
On a post-tension court, the fence posts go in first. Setting them before the pour locks the footings in place and keeps them clear of the cables. If you need to add fencing there are different tools to detect the placement of steel cables, however, we strongly recommend setting the footings outside of the court at that point.
Why Does a Court Slab Need a Continuous Pour?
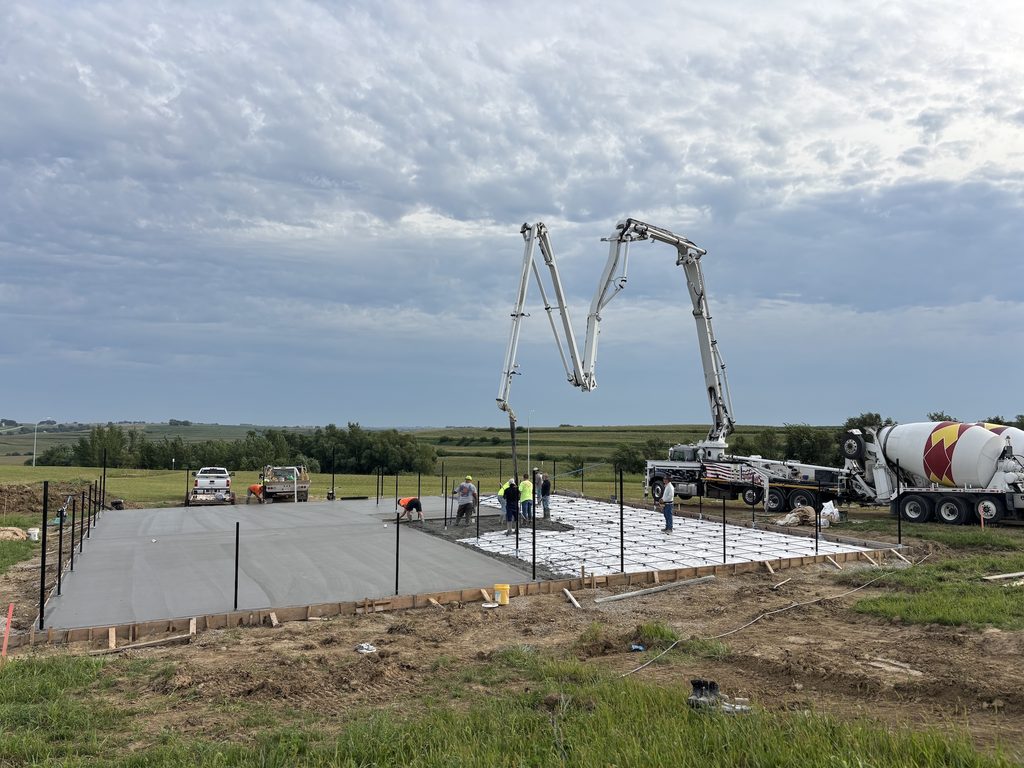
The whole slab has to be poured in one continuous push so no section starts setting before the next batch goes in beside it.
When fresh concrete meets concrete that has already started to set, you get a cold joint: a weak seam and an uneven section right in the middle of the playing surface. On a court, that’s where the ball takes a bad bounce and where cracks like to start.
On Treynor, that meant a pump truck, ready-mix trucks lined up on schedule, and a crew that didn’t stop until the slab was finished. Lunch was optional.
What Is Wet Curing and Why Does It Matter for Courts?
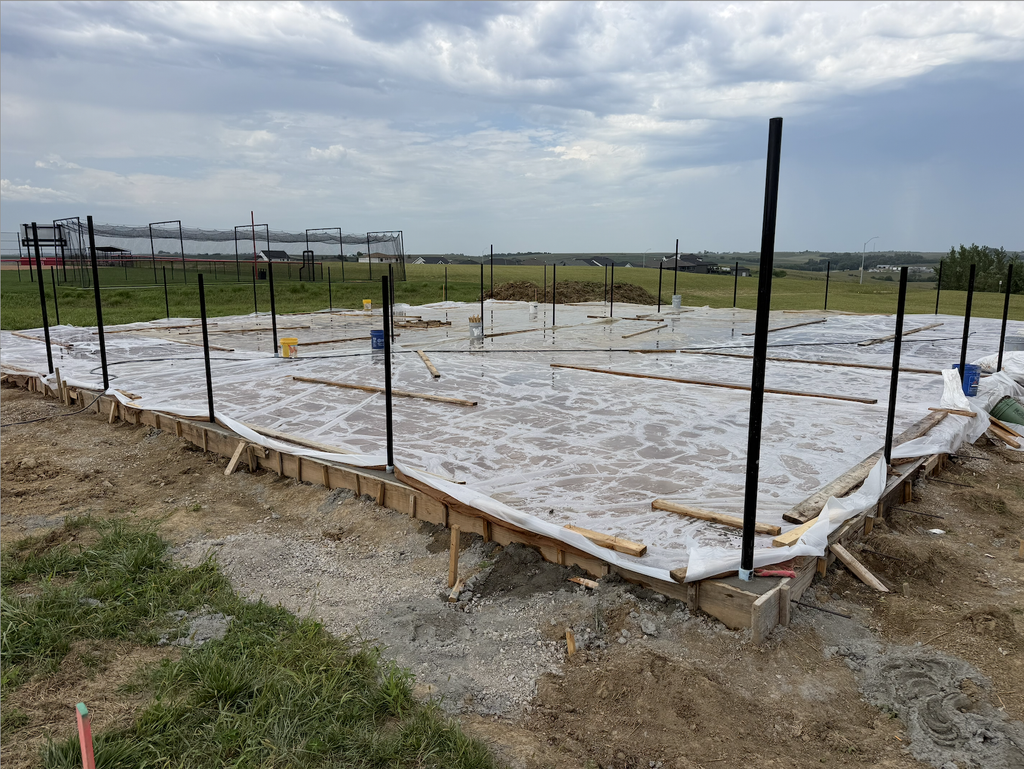
Wet curing means keeping the slab continuously wet for the first several days after the pour instead of letting it dry out on its own.
Concrete doesn’t harden by drying. It hardens through a chemical reaction with water. If the surface dries too fast, that reaction stops early at the top of the slab, which is exactly the part you play on. Keeping it wet gives you:
- A stronger, denser surface
- Less shrinkage cracking
- No spray-on curing compound, which can leave a film that keeps court coatings from bonding
Wet curing doesn’t shorten the wait before surfacing. The slab still needs its full cure time, about 45 days, before any coatings go down.
How Do You Surface a New Concrete Court?
Once the slab has fully cured, the surfacing work starts. Here’s our process, in order:
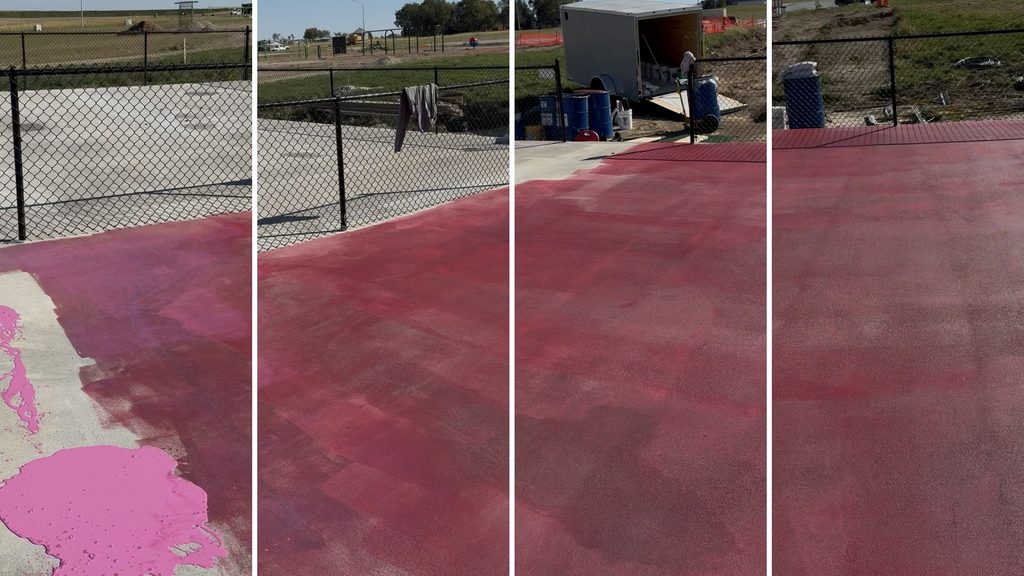
- Acid etch. We scrub an acid solution over the slab, then rinse it and let it dry. Why? New concrete has a smooth, chalky top layer that coatings can’t grip, and etching removes it and opens up the surface so everything after it bonds.
- Primer. One coat goes over the etched concrete. Why? Acrylic coatings don’t bond well to bare concrete on their own, so the primer acts as the glue between the slab and the court system.
- Two coats of acrylic resurfacer (AR). These go on before any color. Why? They fill small dips, trowel marks and surface texture so the ball bounces true and the color goes on evenly.
- Two coats of color. This is the court color you actually see. Why? Two coats give solid, even color with no thin spots, and the sand mixed in gives players traction and sets the ball speed.
- Measure and tape the lines. Every line is measured out to official court dimensions and taped by hand. Why? Once a line is painted, moving it means recoating that area, so it pays to get it right the first time. Measure twice, tape once. Sometimes measure three times.
- One coat of line primer. This goes over the taped lines. Why? The court’s textured surface leaves tiny gaps under the tape, and the primer seals them so the white paint can’t bleed underneath. This gives crisp game lines.
- Two coats of line paint. Then the tape comes up. Why? Two coats give you bright, solid white lines that are easy to see and hold up to years of foot traffic.
How Many Layers of Surfacing Go on a Pickleball Court?
If you were keeping count from the last section, you’ll know that it takes 8 layers to get a finished product, see below:
Is a Post-Tension Pickleball Court Worth the Cost?
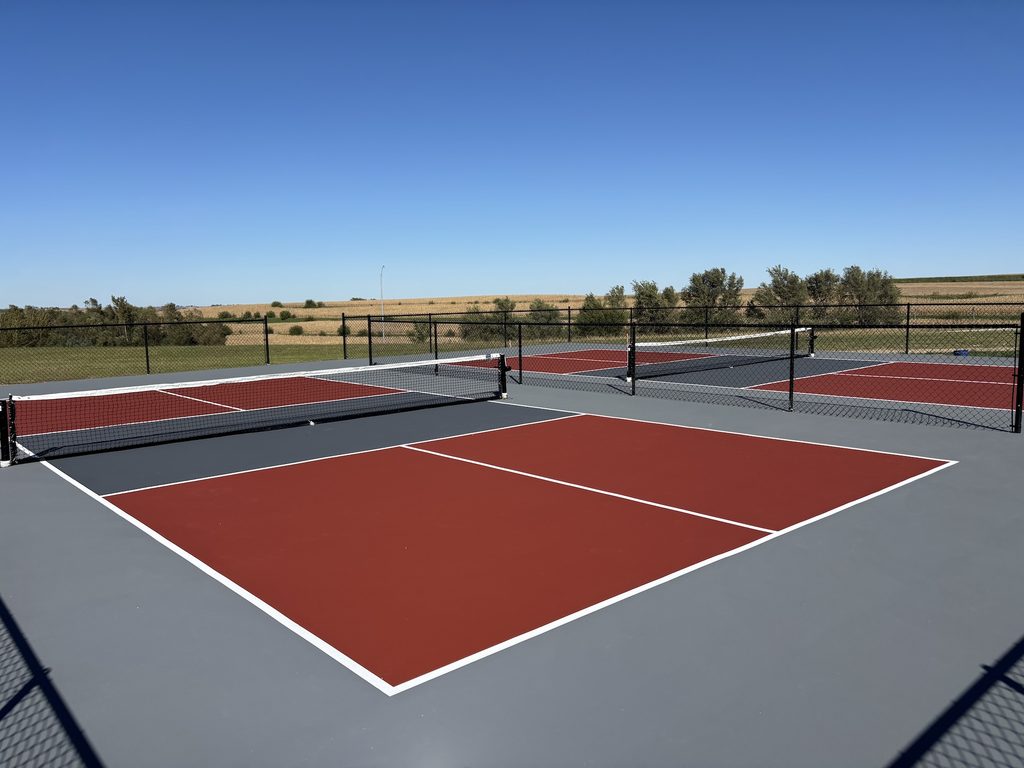
If you plan to keep the court for a long time, usually yes. Post-tension costs more upfront than a standard rebar slab, but it holds up for 20+ years without the cracking and heaving that’s common with rebar courts.
The question we ask every client: how long do you plan to keep this court? For cities, schools, and homeowners staying put, post-tension is almost always what we recommend, but for those thinking short-term or more budget-conscious then we recommend a rebar court.
Planning a Court in Nebraska or Iowa?
Endurance Courts builds and resurfaces pickleball, tennis, and basketball courts across Nebraska and Iowa.
Call 402-590-5600 or email build@endurancecourts.com and we’d be happy to give you a quote.


Leave a Reply